"oh, how shakespeare would've loved cinema" - Derek Jarman


Film Club's Latest Video
Film Club Program
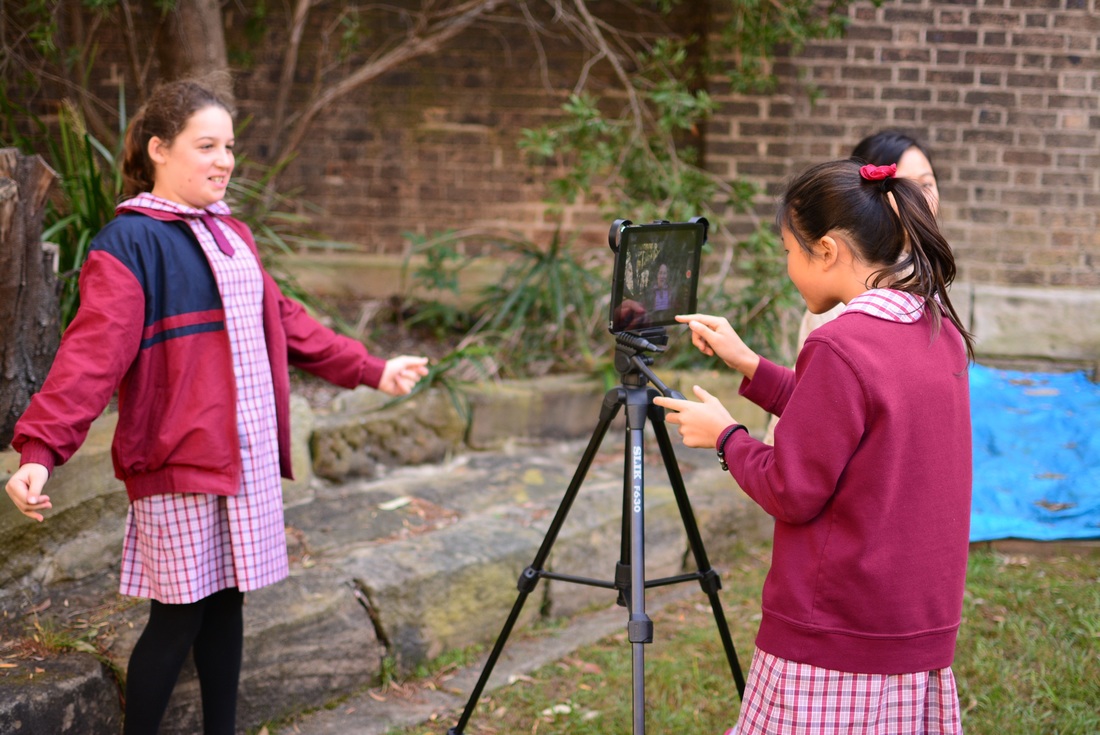
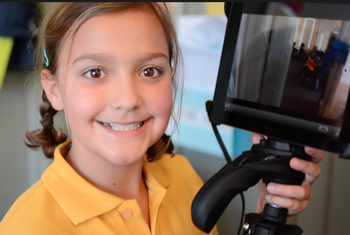
Filming in the Classroom
“What Gutenberg did for writing, online video can now do for face-to-face communication. That primal medium, which your brain is exquisitely wired for, just went global"
- Chris Anderson (How YouTube is Driving Innovation)
Welcome to the revolution! Filmmaking has left the corporate confines of Hollywood studios and broadcast companies and entered the people’s homes, workplaces and classrooms. This is a democratic revolution. The synergies of computing, camera and internet technologies in our ubiquitous smartphones and tablets have made it is easier than ever to both consume and create video. Yet, our sound and space challenged classrooms can be stumbling blocks in joining this movement. Fear not. STEM.T4L’s Film Kit rises to the challenge to help you create quality video IN the classroom.
All fields of human endeavour have been uplifted by this new wave of creativity. Think about the times you accessed online video to learn something new, or pick up a new dance move, or research your next travel destination or savour in the schadenfreudic thrill of people floundering in fail videos. Most likely these were created by laypeople with nothing more than a camera and an editing software. Video has now reached those Gutenberg heights--rivalling reading and writing, becoming the fifth literacy (digital being the fourth). While our classrooms have unique challenges in creating video, a few pieces of technology and some filming tips can make any classroom a broadcast studio.
Start with a tablet like an iPad, the apex of computing, camera and internet technology. The iPad can easily become the all-in-one tool for capturing and editing video. The STEM.T4L Film Kit has a number of carefully selected apps to help you prepare, capture and edit your work on the one digital tool. Apps like TouchCast and Apple Clips lessen the time you need in post-production, as it adds value during filming, like green-screening (chroma keying), adding sound effects, overlays (vApps) and multiple cameras all while recording. That’s right! No need to spend too much time editing in post-production (e.g. iMovie), importing footage, cutting and splicing clips, or adding tracks, as most of the work is done already in the production stage. And, did you know that TouchCast can green-screen without a green screen? Not sure, just ask a STEM Community Leader! All this means that teachers can support students to shoot green screen videos anywhere in the classroom, and teachers can focus on the students’ development of communication skills, planning and storyboarding phase (pre-production), or collaborating more in the filming phase (production). A modern teachers’ dream!
The iPad in the STEM.T4L kit also has an iOgrapher case that helps use the iPad to shoot, frame and add accessories such as lights and microphones. It can also be mounted on the tripod included in the kit. However, one of the most important under-rated pieces of video creation technology is the microphone. Yes, that’s right. A crucial part of making film is sound. Same say sound is more important than the visuals. To prove it, think Blair Witch Project (I know, I’m that generation) or any other film in the ‘found footage’ sub-genre. Right! We would watch bad video, a long as two conditions are met. One, the content must be somewhat engaging. Two, the audio is clear and intelligible. And our classrooms have audio challenges galore.
To help collect better audio for our videos, you need to employ two different types of microphones--the lapel mic and shotgun mic. Lapel mics, also known as lavalier mics or lav mics, should be used to collect your talent’s (actor/actress) speech (dialogue or monologue). Shotgun mics are directional mics, useful in collecting a channel of sound, thus collecting everything in a direction. Shotgun mics are useful when collecting sound that adds to mood and setting, like events and festivals. (Boom mics are whenever you placed any mic on an extendable pole to get closer to the sound source--these just result in students playing swords with them). Often, shotgun mics are less reliable in our classrooms, as shotgun mics collect a narrow channel of sound, perhaps drowning out your talent’s speech with background noise. This is where lapel mics are the better choice for speech as they are pinned to the speaker and collect a consistent sound quality. It is also omnidirectional, allowing the lapel mic to be attached anywhere close to the mouth, not just the lapels (e.g. under hair, hats, shirts). STEM.T4L’s kit has both these types of mics included, with an adaptor and extension cord, allowing you to use both at the same time if need be, (e.g. filming a school reporter at an event). You can now film IN your classroom and around a noisy school event and have intelligible sound.
So, join the video revolution! Grab a Film Kit from STEM.T4L and try the popular Learning Challenges, Film Festival or School Newsroom, to easily get started. Help your students become quality creators and video literate, and share the projects, events and stories from your classroom!
Film Ideas
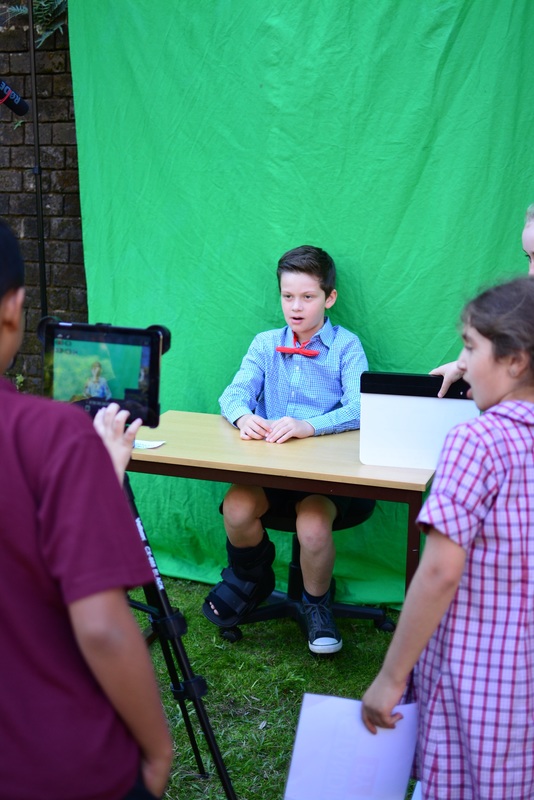
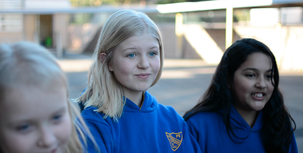
 Eden, Lydia and Ms Low on the set of INVISIBULLY.
Different viewpoints
Take a scenario or story from a book and divide it between the different characters featured. Each group writes a monologue from one character’s point of view and illustrates it with video clips. One or more of the viewpoints could be an animal or an inanimate object.
School News
Create a report of a school event, project or trend. Share with your community, through newsletters, school website, assemblies or social networks.
Myths and legends
Choose a local, or international, myth or legend. Divide it into manageable sections and get each group to write a voiceover describing their part of the story and to illustrate it with video clips.
Personification poem films
Each group takes a different building or feature in the local area and writes a monologue from its point of view. They illustrate their poem with images which explain the visual metaphors they are using – for example, roof trusses for ribs, windows for eyes, and so on.
Emotions
Each group in the class is given a one-word description of a feeling or emotion, such as RESILIENCE. Write a monologue or a poem which you then illustrate with video clips.
Planning for Success
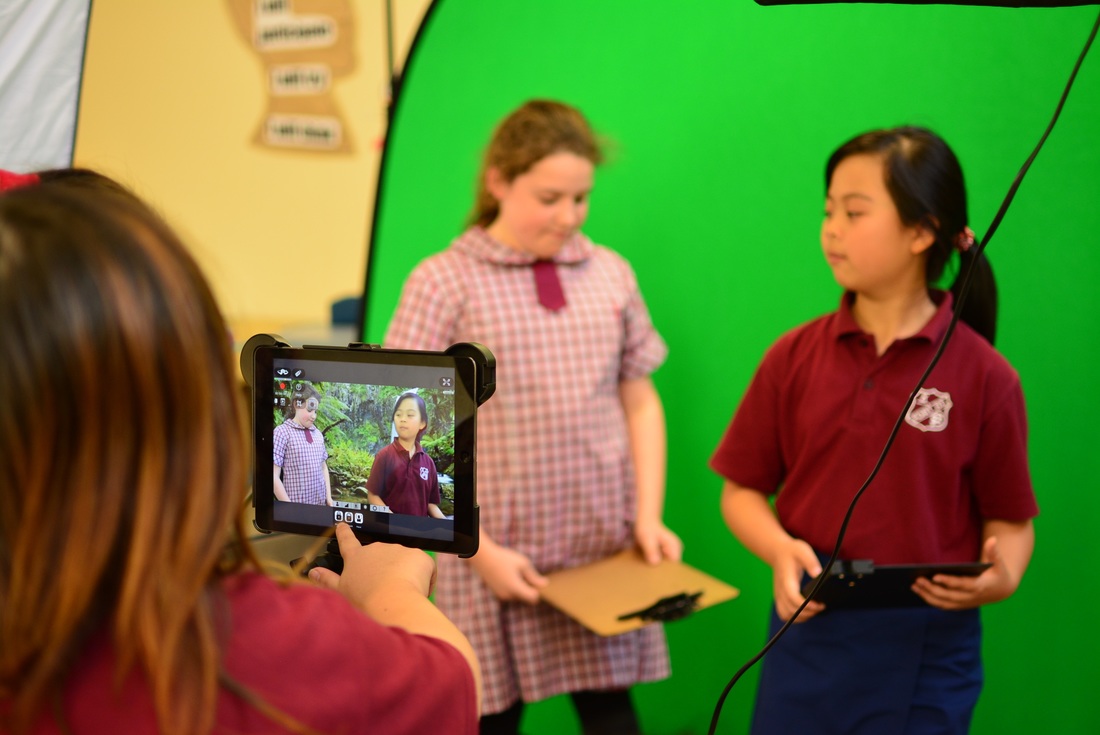
 Alyssa, Zali and Adriana on the set of INVISIBULLY.
Keeping it manageable. Keep the film short: 30 to 60 seconds is plenty for a film. It’s much better to make a short film well, rather than struggling to complete a long film. A 30-second film could include as many as 20 or more shots, so planning it carefully will take a long time.
Avoiding the hard stuff
Trying to emulate movies, feature films or television is really difficult. Instead, devise (create) projects that put more emphasis on creativity and story-telling rather than relying on technical expertise. For example, do a voice over or record sound separately and later match it to the video images. If you can, film where there is plenty of light and space so that you don’t have to use special lighting.
Filming basics
Get organised
You need to be organised when you are filming. Refer to a storyboard so that you know which shots you are going to film. Actors refer to a script.
Framing
Normally it’s better to use a tripod. If you can’t use a tripod, it’s easier to hold the camera steady if you zoom out and get in close to the subject. Get in close and keep the composition simple. Otherwise, vary the framing by using a long shot or a wide shot to show the context, and use close-ups to show details and emotions. Remember you still need to keep the camera in ‘landscape’ mode. If you film in portrait mode your shots will be on their side, and you won’t be able to rotate them unless you have a professional editing program.
Shoot separate shots rather than reframing and waving the camera about while you’re filming.
If you do use camera movements, have the camera moving smoothly in one direction. Fast movement will badly affect image quality and smoothness. Don’t zoom while you’re filming.
Check the light
Try to film where there is plenty of light, and don’t mix different light sources such as daylight and fluorescent light as this will make the colours appear strange. Don’t shoot into the light or against a very light or dark background.
Shoot enough material
Shoot at least ten seconds of each shot (count one second, two seconds etc or watch the counter). For drama or acted scenes, it’s best to follow a drill – eg
Director: Camera set?
Camera operator checks that the shot is framed properly and everything is ready to go.
Camera operator: Camera set
Director: Quiet please.
Check everything’s quiet then say
Director: Turn over
Camera operator starts the camera and checks that it actually is recording.
Camera operator: Camera rolling
Director waits five seconds then signals to the actors or shouts ‘Action’.
The actors do the scene.
The Director waits five seconds.
Director: Cut
The camera operator stops recording.
The production assistant makes a record of the scene.
If you’re not sure if the take is good, do it again.
Film...the New Art
Film Making is the most recent of art. Even though digital art is more recent, it is really only a new tool and not a new form of art. Since filmmaking is a unique art form, it has its own set of elements and principles.
Film making combines theater, music and visual art. Early filmmakers would just set up a camera and film a stage production or an everyday event. The camera was fixed and static. Very quickly though, film makers learned that you could move the camera for new and more interesting angles. They were soon taking scissors to their film and cutting and arranging them into ordered sequences. With the mobile tools that we have in the classroom, it is easier than ever but also more demanding than ever to know how to create your own film pieces. Make sure to learn more about how to make film in order to share the skill and joy with your students.
Eric
What is your story about?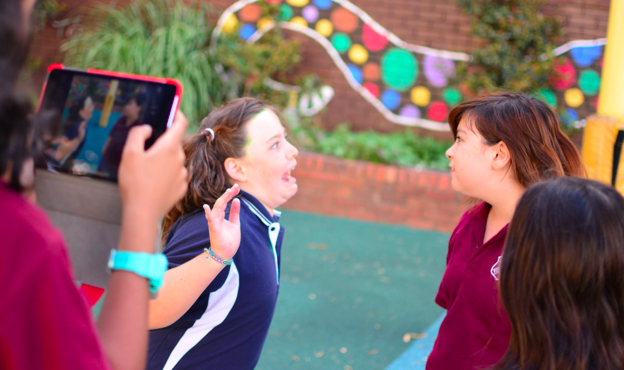
|
|
